Showing posts with label Room Reveal. Show all posts

Our home: Dining nook

Monday, March 23, 2015
I finished this space a while ago, but I have been so busy project deep I haven't had a chance to show you all the new pretty things happening!

Here is our new dining nook that looks especially pretty in front of our DIY planked wall.. (more on that later)


This whole makeover was inspired by a free farmhouse style table my Mom brought to me. She knew I could do something with it. It had an ugly yellow oak top before.
So I quickly stripped the existing finish, and used a stain made out of vinegar + steel wool for the top.
The top is aged and inconsistent grey... much like old barn wood. I kinda love it. 
I sealed it with a polycrylic + wha-la.
I left the legs as they were white, chippy, a little dirty... ya know adds character.


I paired it with some Target industrial style chairs that I found on a local yardsale page (lucky day!!) and a thrifted bench I quickly painted white. 
So pretty much, this entire area is second hand. How awesome is that?! 

Chairs similar here
Vase from Downeast Home
Dishes from Walmart
Curtains & Placemats from Target
Silk flowers Hobby Lobby
Table + Bench Thrifted


Room Reveal: Grandma's House.

Monday, October 20, 2014
I spent a couple days with my mom visiting & working on a few spaces around her house. I somehow managed to forget my good camera so I don't have beautiful pictures to share with you.
But it would be a shame to not show you a few of her pretty spaces.
My mom lives in the cutest little cottage style house. Her style is modern countryish.
I hate labeling styles because it's hard, and I think it's boring to play by a certain "style"

It started with a {few} massive hauls to Homegoods. I love that I can go anywhere &know that Homegoods will have a TON of great options.


I apologize for all the phone pictures. Our main focus was  her basement which was newly finished, complete with pretty wood floors, and pretty soft grey walls.
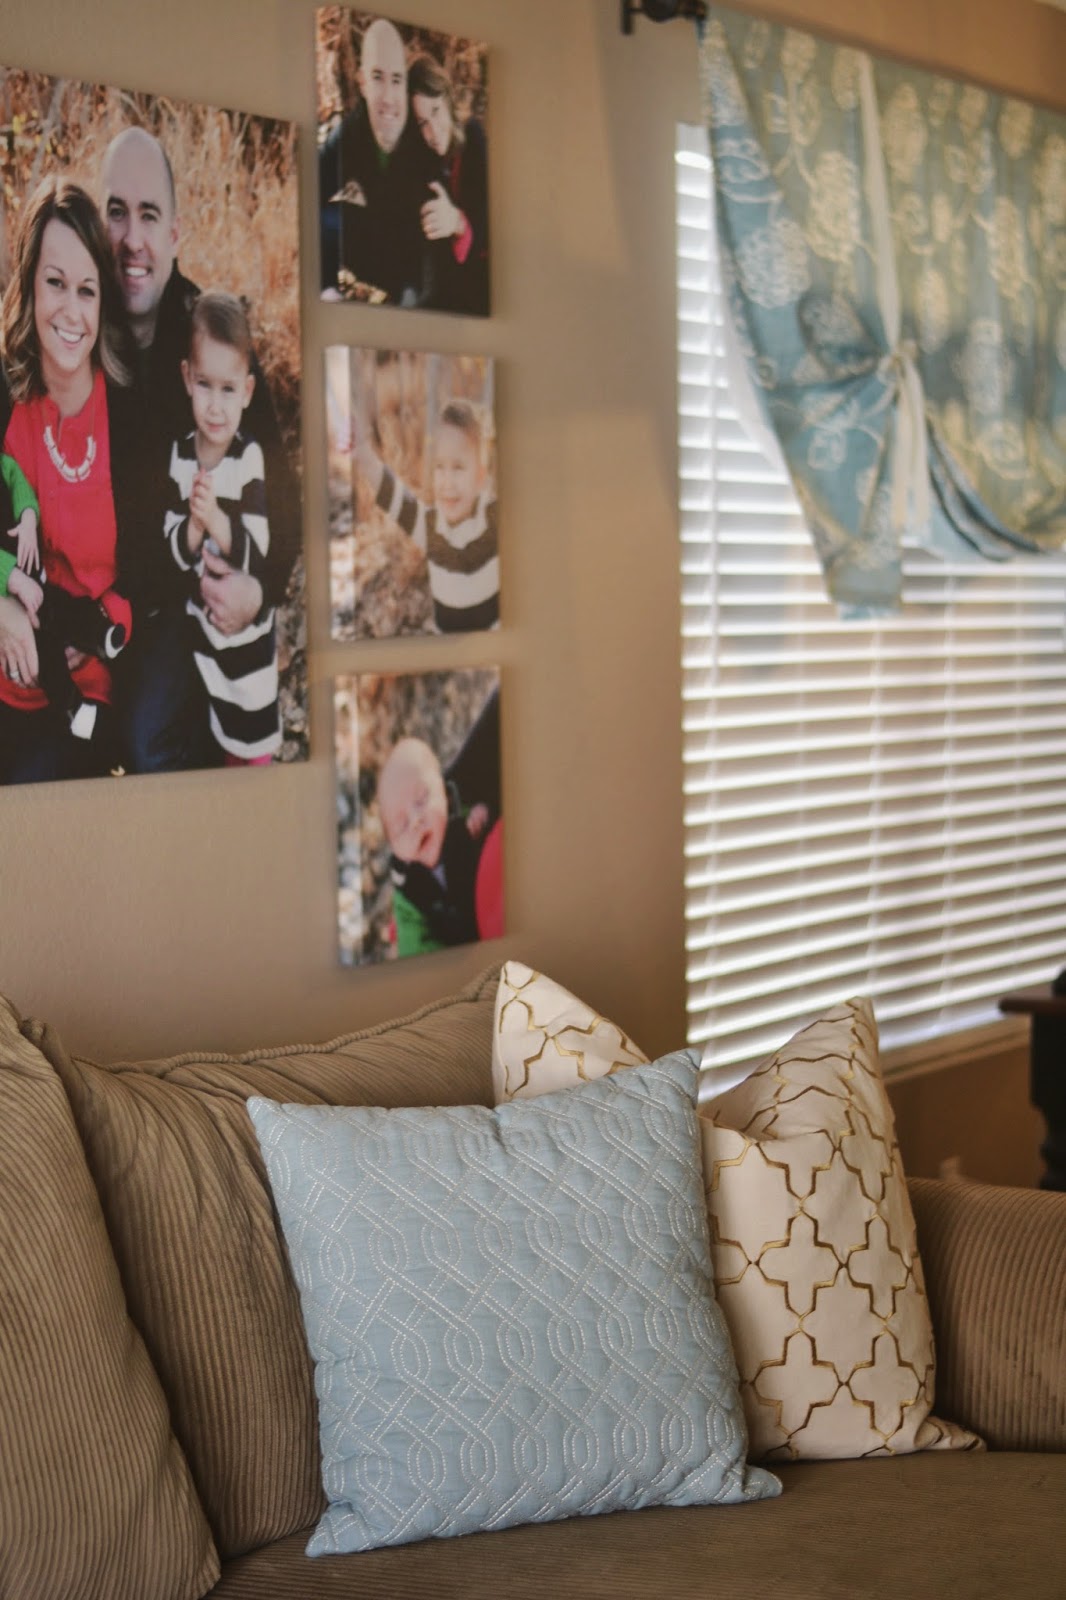
I did end up doing a few projects while I was there, including making cornice boards for her living room.
You can see what her room looked like last year when I first went and decorated her living room, here.
She had moved her sofas down to the basement because they were a little oversized for her formal living room &found a beautiful Pottery Barn leather sofa at Downeast Home.
The chairs are from Pier One Imports.
The rug is from Down to Earth home.
The lamps are from Black Goose Design.
The coffee table is Ikea.
The art above the fireplace is made by me :). 


I love this old copper bucket on her hearth. It was filled with Hydrangeas but we swapped it out with some fall wildflowers & greenery. I love that this arrangement looks like we gathered it from the area that she lives.

The cornice boards were quite the project because I pretty much made it up as I went. Isn't that the only way to do things? Anyways, we ended up using a foam board from Lowes which made them really lightweight which was GOOD, they didn't need any crazy hardware to be hung.
This is the fabric we used, my mom had it picked out before I got there. 


I'm a neutral girl, but sometimes a whole bunch of pretty colors on a fabric makes me so happy.


Down in her basement half of it is a sitting area, and the other half is a game area that will have built ins eventually. We used some gauzy panels from Ikea, and picked up a beautiful cowhide rug for under the area. I am a little jealous. I want a cowhide in my house... somewhere.


I am really bummed I didn't get any good pictures of the sitting area that is adjacent to this table. It is pretty & might have even had some faux fur involved.


Kleiner house redesign.

Thursday, May 15, 2014
A couple months ago I was contacted by my husband's cousin's wife...  okay okay let's just call her my honorary cousin Melissa, to get her house together, and get her out of her newlywed apartment furniture that had been hanging around long past it's welcome.

I love how it turned out, Melissa said she loved Pottery Barn feel but cleaner & a touch simpler, and not a lot of stuff. I think what we came up with was just that. 

We still have a few finishing touches, but I couldn't wait to show you! 

Here is the before of both rooms:


And here are some afters, I didn't have the right lens with me to get full room shots but what a difference! 
I'll try to remember to take my other lens back so you can get a full room picture.

The main room that got the makeover was her front living room that had been the catchall of all old furniture. Now it's a room that I would like to transport straight to my own home.


The tufted sofa was an amazing find from The Potato Barn.
The rug is another favorite find from Homegoods. 


The chair and end table are from World Market. I love them both dearly. 

The family room area really just needed a few things to bring it together, an entertainment center, window treatments, and a few accessories made all the difference! 


I made this geometric wall art, and I kinda love how it turned out. 


The orb light fixture is Allen + Roth from Lowes. 


Room Reveal: A quick little girls room redo.

Wednesday, April 2, 2014

I just finished up this quick room redo for a friend's little girl.
The room had a fresh coat of pink paint, and a pretty new bed. She asked if I could put together a few finishing touches for her.
We did some bedding, window treatments, and a little wall treatment and it turned out so sweet. 


Being 5 my little client wanted a butterfly room, but her mom wasn't too sure about that idea.
I chose to do some butterfly vinyl wall decals, when she's older and tired of them they can just peel off. 
Or when her mom gets tired of them.
Whichever comes first. 

It is a subtle way to have a kinda themey room that doesn't make you want to keel over every time you walk in the door.


I sewed up a quick faux roman balloon shade window treatment thingy. 
Very technical term.
The window treatment fabric I found at a local fabric shop on deep discount. It has some pretty embroidery detail. I really love it.


The bedding is a hodge podge as usual. The sheets and quilt are from Homegoods. The bedskirt is from the Shabby Chic line at Target. And the linen throw pillow is from Ikea. 


I whipped up this wood sign with the words to a favorite church song for some quick wall art.

At the end of the day this little room was done on a budget, we spent a total of $150. I think we got a lot of bang for our buck.


Family Room Redo: Tuscan to Shabby

Monday, June 24, 2013
I am really excited about this post because of the huge change and little amount of money spent to transform this space! 

I helped my friend Ashley redo her family room.
We did the majority of the consultations online via images, and lots of messages back and forth.
Like so many people out there, she had a super Tuscan family room and was craving something a whole lot lighter without breaking the bank to buy all new pieces. 
Her big furniture pieces were all very classic in shape and color, so I knew we could make them work with just changing out a few accessories.

Here is the before: 

I think the total Ashley spent on this room was around $200. Which is amazing! 
The biggest change came from switching the rug out to a much lighter neutral, which she was lucky enough to come across a scrap piece of carpet for free. 
Totally would never know!
She painted a lot of the accessories she already had in white, yellow, and blue. 
The only other things she bought were pillows,  some new greenery, and lampshades.
So much lighter, it's amazing! 

Here are the after shots:


When I walked in the space to take pictures I was completely blown away! 

We didn't change a single large element of her space, no paint, no furniture, just tiny little things.
I think we both had some doubts that the little changes we made would make a noticeable difference but the feel of her room now is totally fresh, light, & shabby.
Amazing. 

What do you think?